
Setting Up Cloudflare R2
Before you can use the Uploader Template, you need to set up your Cloudflare R2. This guide will walk you through the process. We will assume you have already set up your Cloudflare account and have a domain name managed in Cloudflare.
- Open Cloudflare's dashboard.
- Go to Cloudflare.
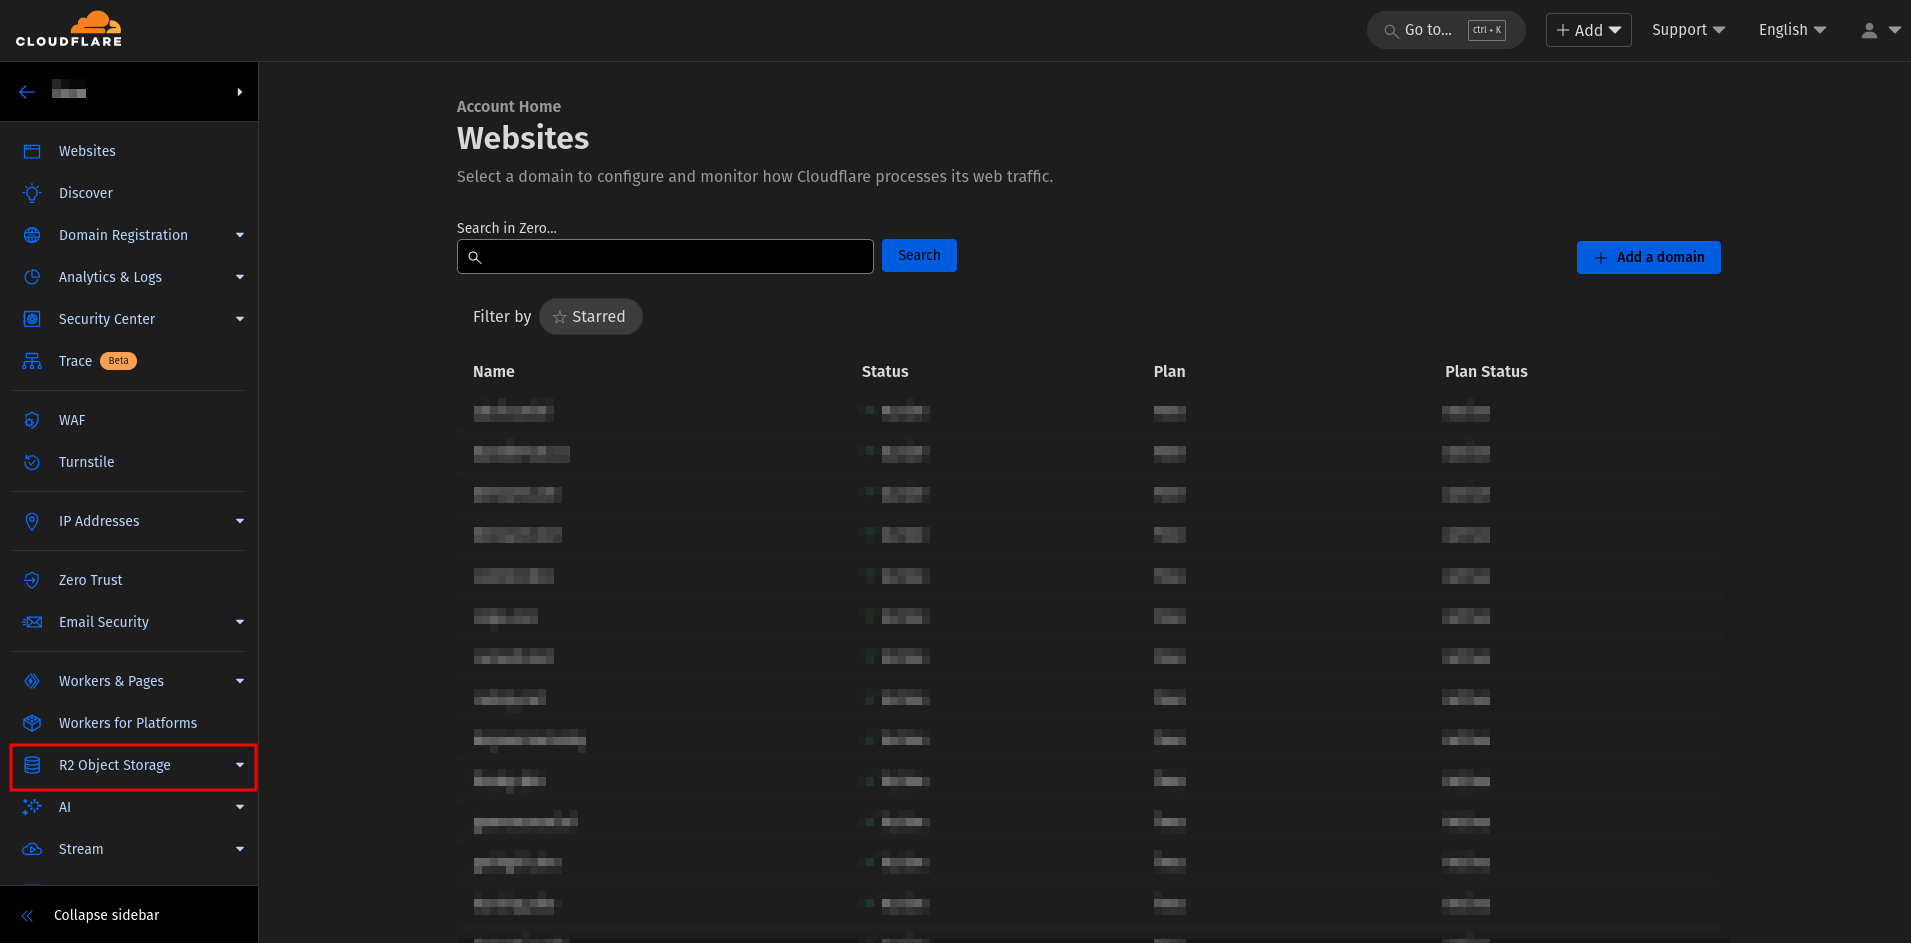
- Navigate to the R2 Object Storage.
- Click on the
R2 Object Storagetab in the left sidebar.
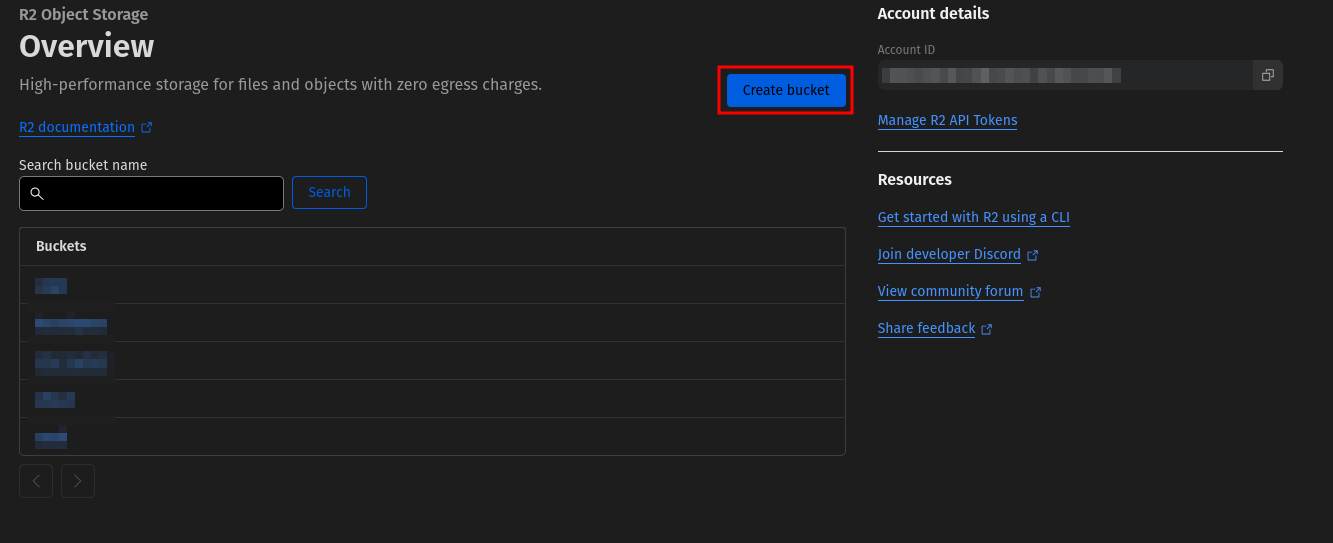
- Click on the
- Create a new bucket.
- Click on the
Create Bucketbutton.
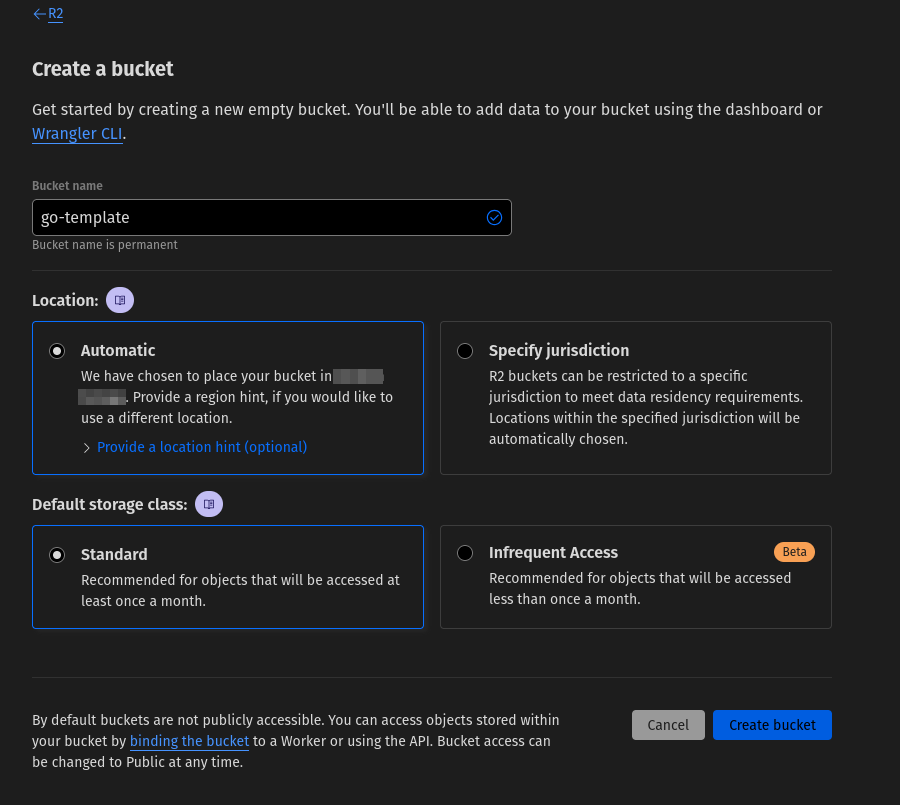
- Enter a name for the bucket.
- Choose a region. (We recommend choosing
Automatic). - Choose a storage class. (We recommend choosing
Standard). - Click on the
Create Bucketbutton.
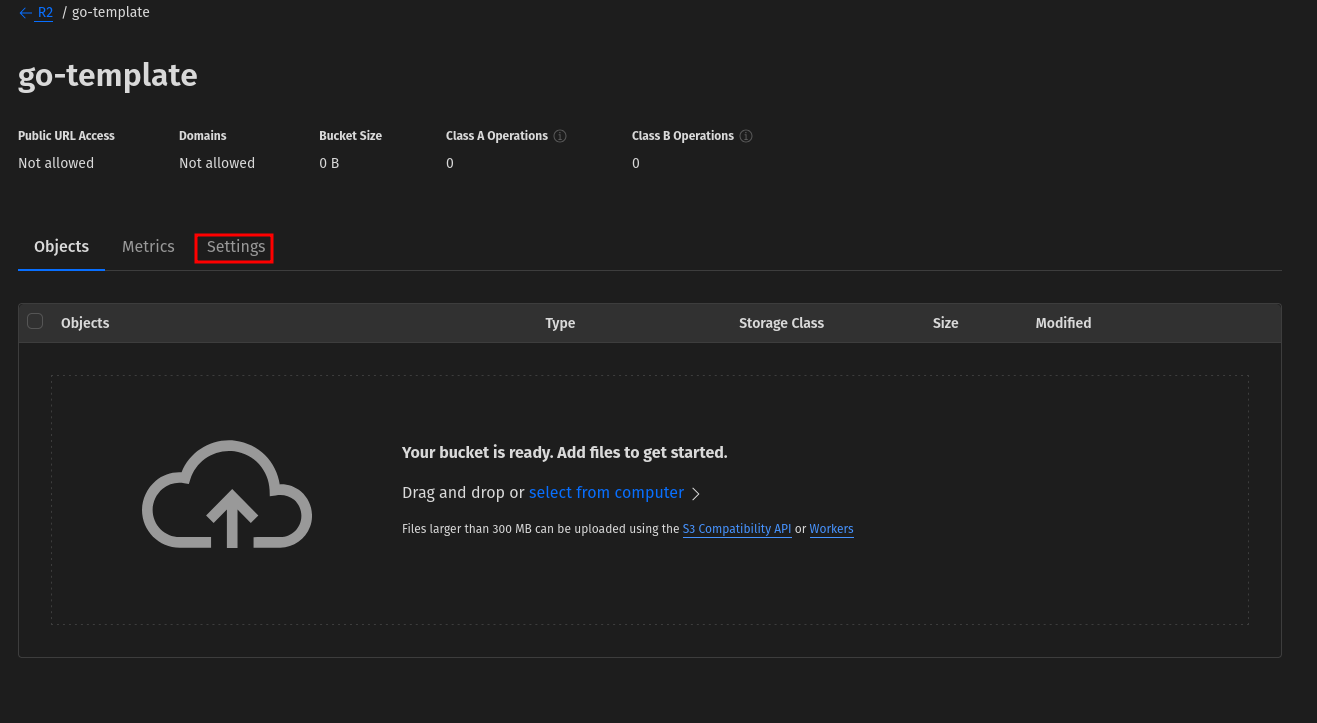
- Click on the
- Configure the bucket.
- Click on the
Settingstab.
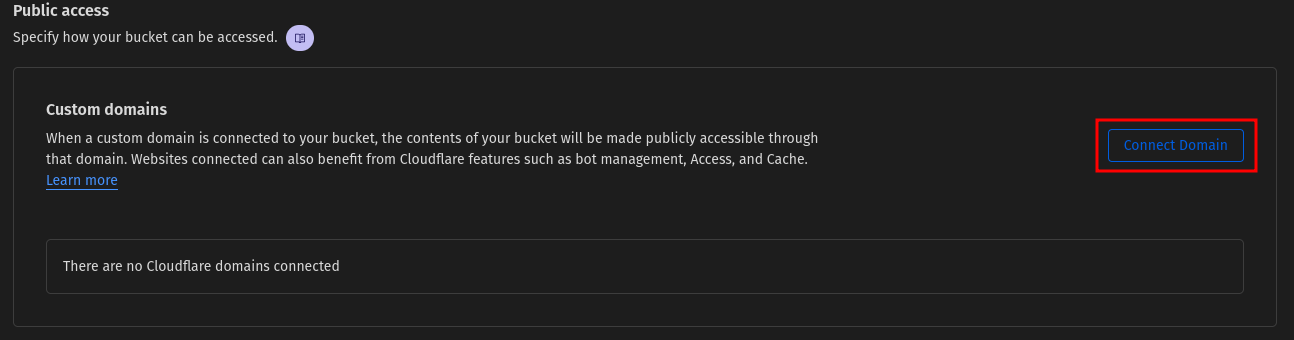
- Scroll down until you see the
Public Accesssection. - Click on
Connect Domain.
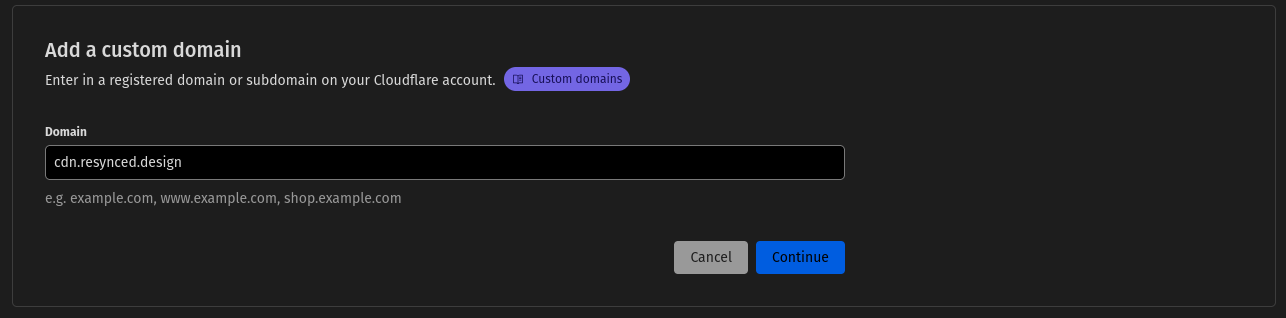
- It is recommended to use a subdomain for the bucket. For example,
cdn.example.com. - Click on the
Continuebutton.
- Preview the DNS record that will be created. If everything looks good, click on the
Connect domainbutton.
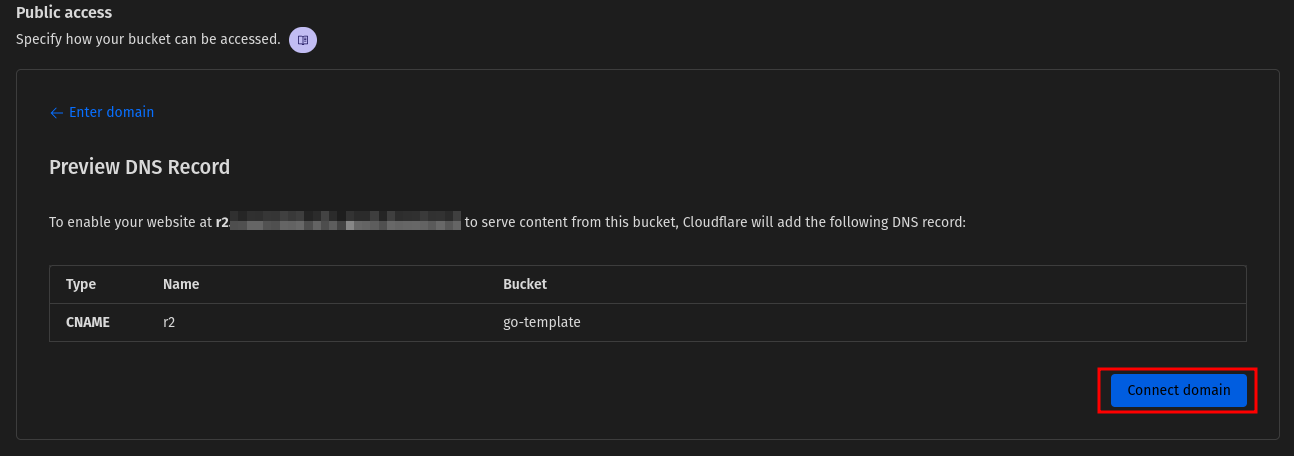
- Wait for the DNS record to propagate. After that, you can access your bucket using the subdomain you chose.
- Click on the
- Adding a CORS Policy.
- Scroll down until you see the
CORS Policysection. - Click on
Add CORS Policy.

- Enter the following configuration:
[ { "AllowedOrigins": [ "http://127.0.0.1:3000", "https://example.com" ], "AllowedMethods": [ "GET", "POST", "DELETE", "PUT", "HEAD" ] } ] - The above configuration allows requests from the specified origins and methods. You can modify it according to your needs.
- Click on the
Savebutton.
- Scroll down until you see the
That's it! You have successfully set up your Cloudflare R2 Object Storage. You can now use it with the Uploader Template.